Learning Center
Check out our articles on home improvement tips and how you can upgrade your indoor/outdoor living spaces

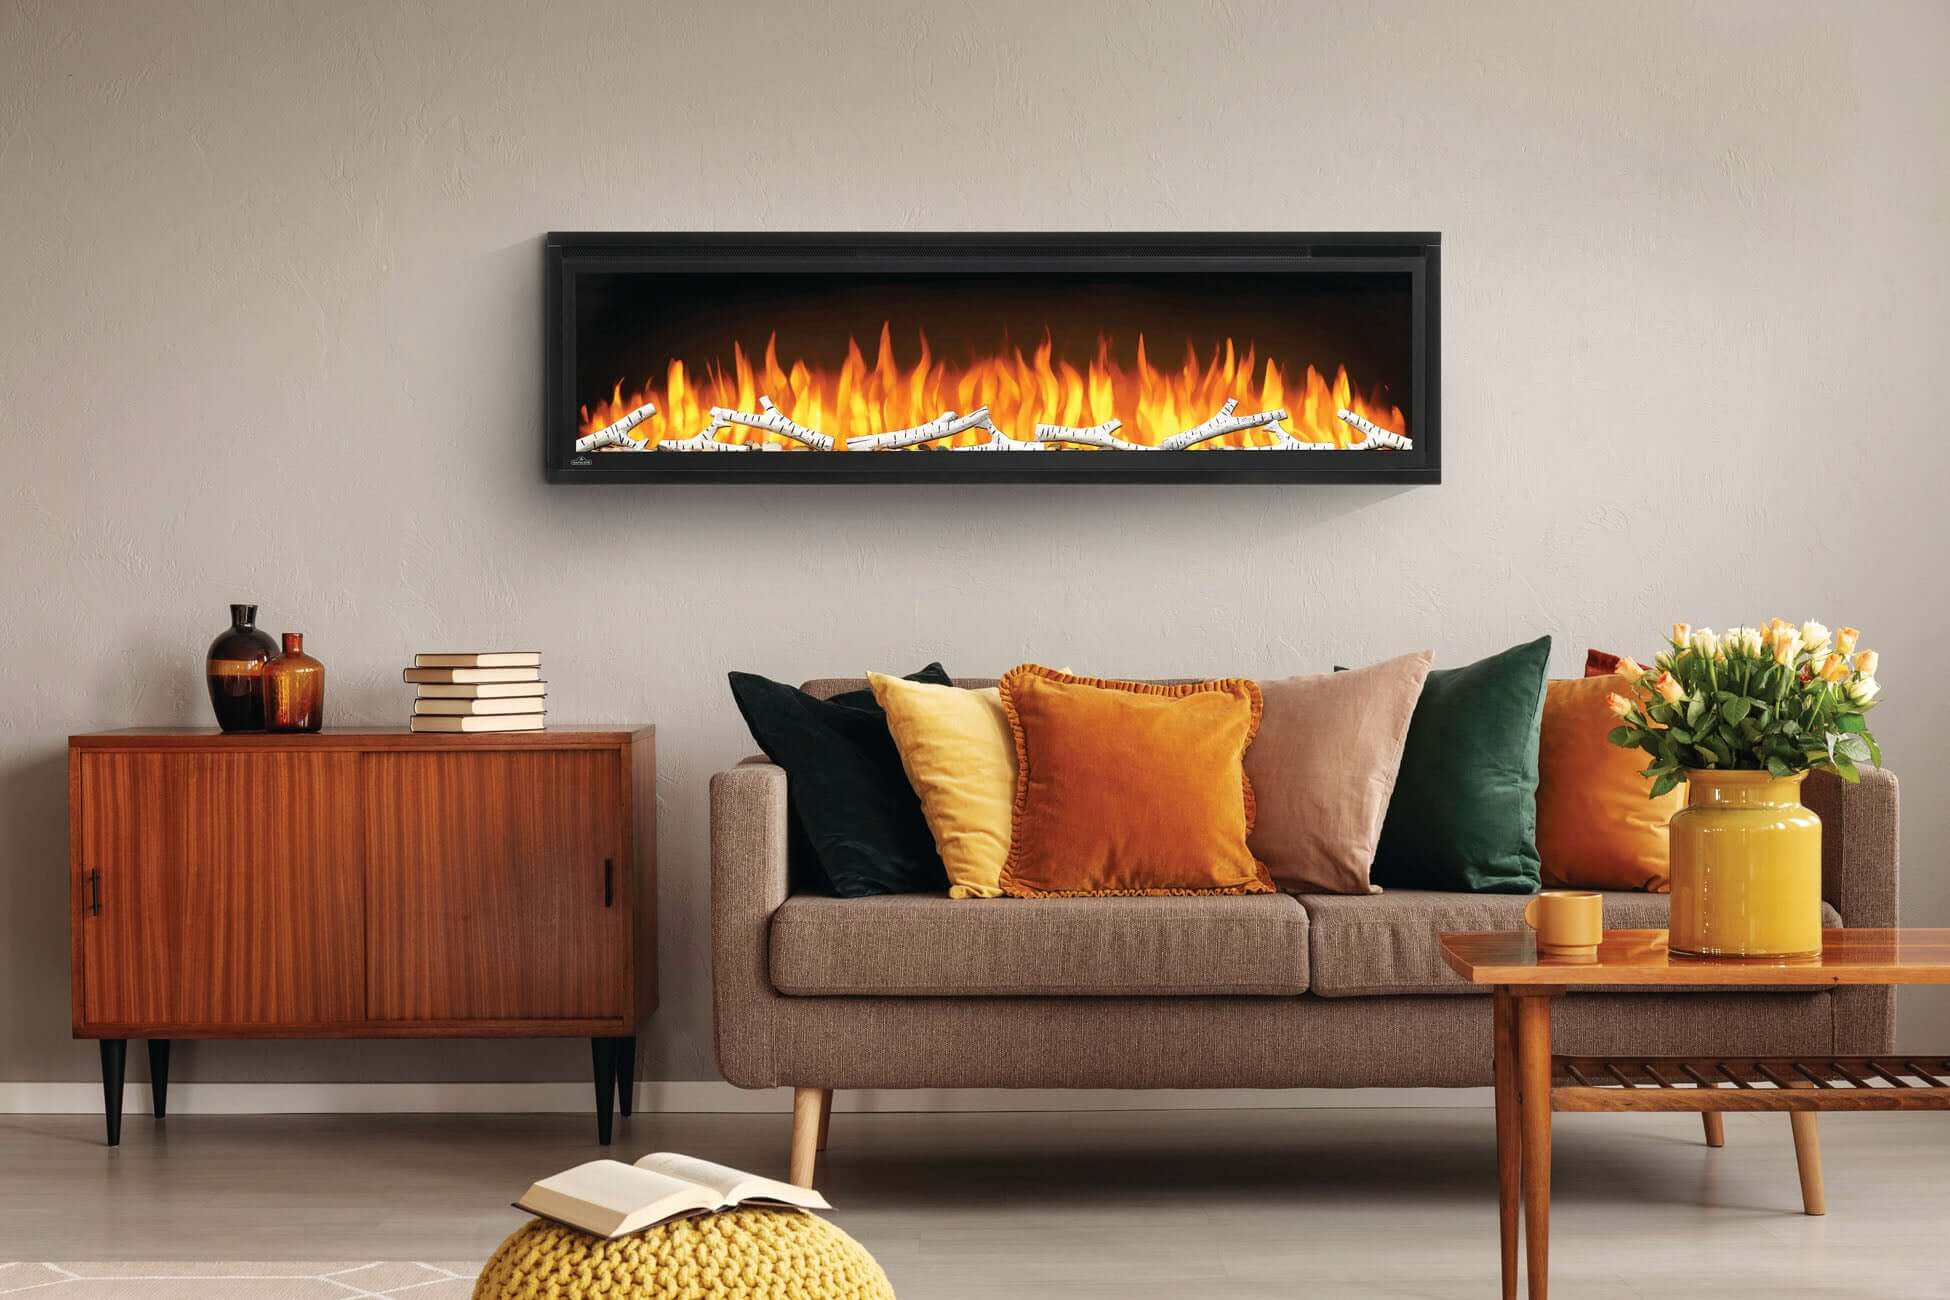
Choosing the Right Fireplace: Gas vs. Wood Expl...
Choosing between gas fireplace and wood-burning fireplaces involves weighing convenience against ambiance. Gas units offer instant flames with minimal maintenance but lack the classic crackling sounds and smoky aroma of...
Choosing the Right Fireplace: Gas vs. Wood Expl...
Choosing between gas fireplace and wood-burning fireplaces involves weighing convenience against ambiance. Gas units offer instant flames with minimal maintenance but lack the classic crackling sounds and smoky aroma of...

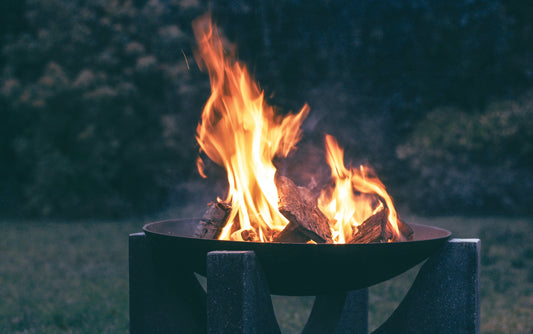
What Can You Burn in a Fire Pit to Keep Mosquit...
Summer nights around the fire pit should be about making memories, not swatting mosquitoes. Let's face it, those buzzers can ruin a good time fast. But here's some great news:...
What Can You Burn in a Fire Pit to Keep Mosquit...
Summer nights around the fire pit should be about making memories, not swatting mosquitoes. Let's face it, those buzzers can ruin a good time fast. But here's some great news:...

Top 5 Wood-Burning Fireplaces
The crackling of the wood, the warmth of the fire as the chill of night takes over can be a surreal experience. Wood-burning fireplaces create an ambience that is not replicable...
Top 5 Wood-Burning Fireplaces
The crackling of the wood, the warmth of the fire as the chill of night takes over can be a surreal experience. Wood-burning fireplaces create an ambience that is not replicable...

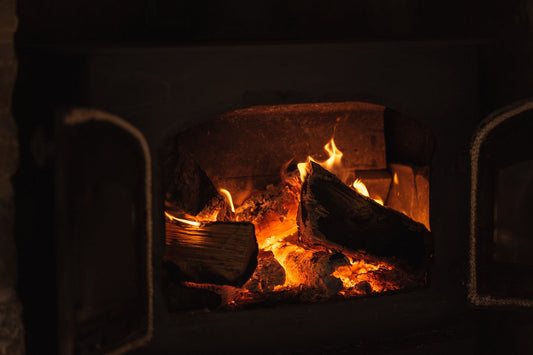
Safe Methods to Dispose of Fireplace and Fire P...
Embarking on cozy evenings around your fireplace or fire pit brings warmth and joy to many homes, but what follows is often overlooked: the proper disposal of ashes. In our...
Safe Methods to Dispose of Fireplace and Fire P...
Embarking on cozy evenings around your fireplace or fire pit brings warmth and joy to many homes, but what follows is often overlooked: the proper disposal of ashes. In our...

Top-rated Gas Fireplace Inserts: Finding the Be...
Imagine transforming your living space with the warmth and ambiance of a fireplace, without the hassle of chopping wood or cleaning up ashes. Gas fireplace inserts offer a convenient and...
Top-rated Gas Fireplace Inserts: Finding the Be...
Imagine transforming your living space with the warmth and ambiance of a fireplace, without the hassle of chopping wood or cleaning up ashes. Gas fireplace inserts offer a convenient and...

